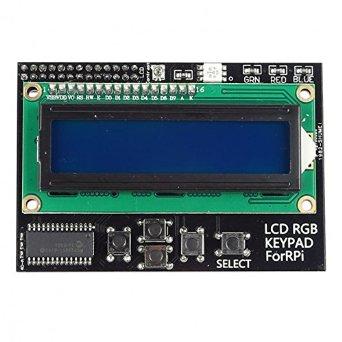
In this example we will add an LCD plate to our Raspberry PI, you could of course add an LCD and connect it up manually but this was an easier method which I wanted to investigate. Here i s a picture of the plate I purchased and used
Here are the instructions required to setup your Raspberry PI, there are various commands that need to be run
[codesyntax lang=”bash”]
sudo apt-get install python-smbus
sudo apt-get install i2c-tools
[/codesyntax]
Now as an optional step you can try and scan for your LCD, it should show up at 0x20
scan for LCD
sudo i2cdetect -y 1 (Raspberry PI version 2)
Now the folks at adafruit have done a lot of work regarding creating a python library
[codesyntax lang=”bash”]
sudo apt-get update
sudo apt-get install build-essential python-dev python-smbus python-pip git
sudo pip install RPi.GPIO
git clone https://github.com/adafruit/Adafruit_Python_CharLCD.git
cd Adafruit_Python_CharLCD
sudo python setup.py install
[/codesyntax]
To test run the following which will run the example that was written by Adafruit
[codesyntax lang=”bash”]
cd examples
sudo python char_lcd_plate.py
[/codesyntax]
You should explore the basic examples to look at the code and see how everything works but here is a very simple example. This demonstrates how simple it is to write text to an LCD
Our first basic example, the good old hello world. type the following using your favourite text editor and save as test.py. I used Geany.
Code
[codesyntax lang=”python”]
#!/usr/bin/python
# As basic as it gets : Hello world
import Adafruit_CharLCD as LCD

lcd = LCD.Adafruit_CharLCDPlate()

# Show some basic colors.
lcd.clear()
lcd.message('HELLO WORLD')
[/codesyntax]
Run the above by typing the following on the command line
[codesyntax lang="bash"]
sudo python test.py
[/codesyntax]
Links
The LCD plate comes in at about $17 to $20
Raspberry pi Raspberry Pi 1602 LCD screen buttons RGB


